A couple of months ago, through the twists and turns of the internet, I was led to this video:
Normally, I love trying new things, but only if they serve some sort of purpose in my life. It’s ususally not hard to find a purpose, granted; even the most mundane things have a point. As soon as I saw this video, though, I decided that it needed to happen, for no better reason than… well, it looked freakin’ cool.
I’ve since learned that hydrographics are the way to paint industrial and intricate patterns. With a clean part, activated hydrographics will adhere instantly and create a seamless design of the maker’s choosing. One can use layers of paint applied to the surface of the water, or pre-made patterns that come in thin rolls of film, which are then cut and sized according to the surface area of the part. Thus, to measure correctly, my first task was choosing what I was going to paint.
I had spraypainted my[1]…Dad’s… NES before, but that had been the first time I had really done anything with spraypaint, so the final product looked less professional than I had intended[2]though still not bad for a first time![3]…other than accidentally spraypainting my landlord’s driveway a nice shade of gold.. Here’s a snapshot of the console back from 2014:
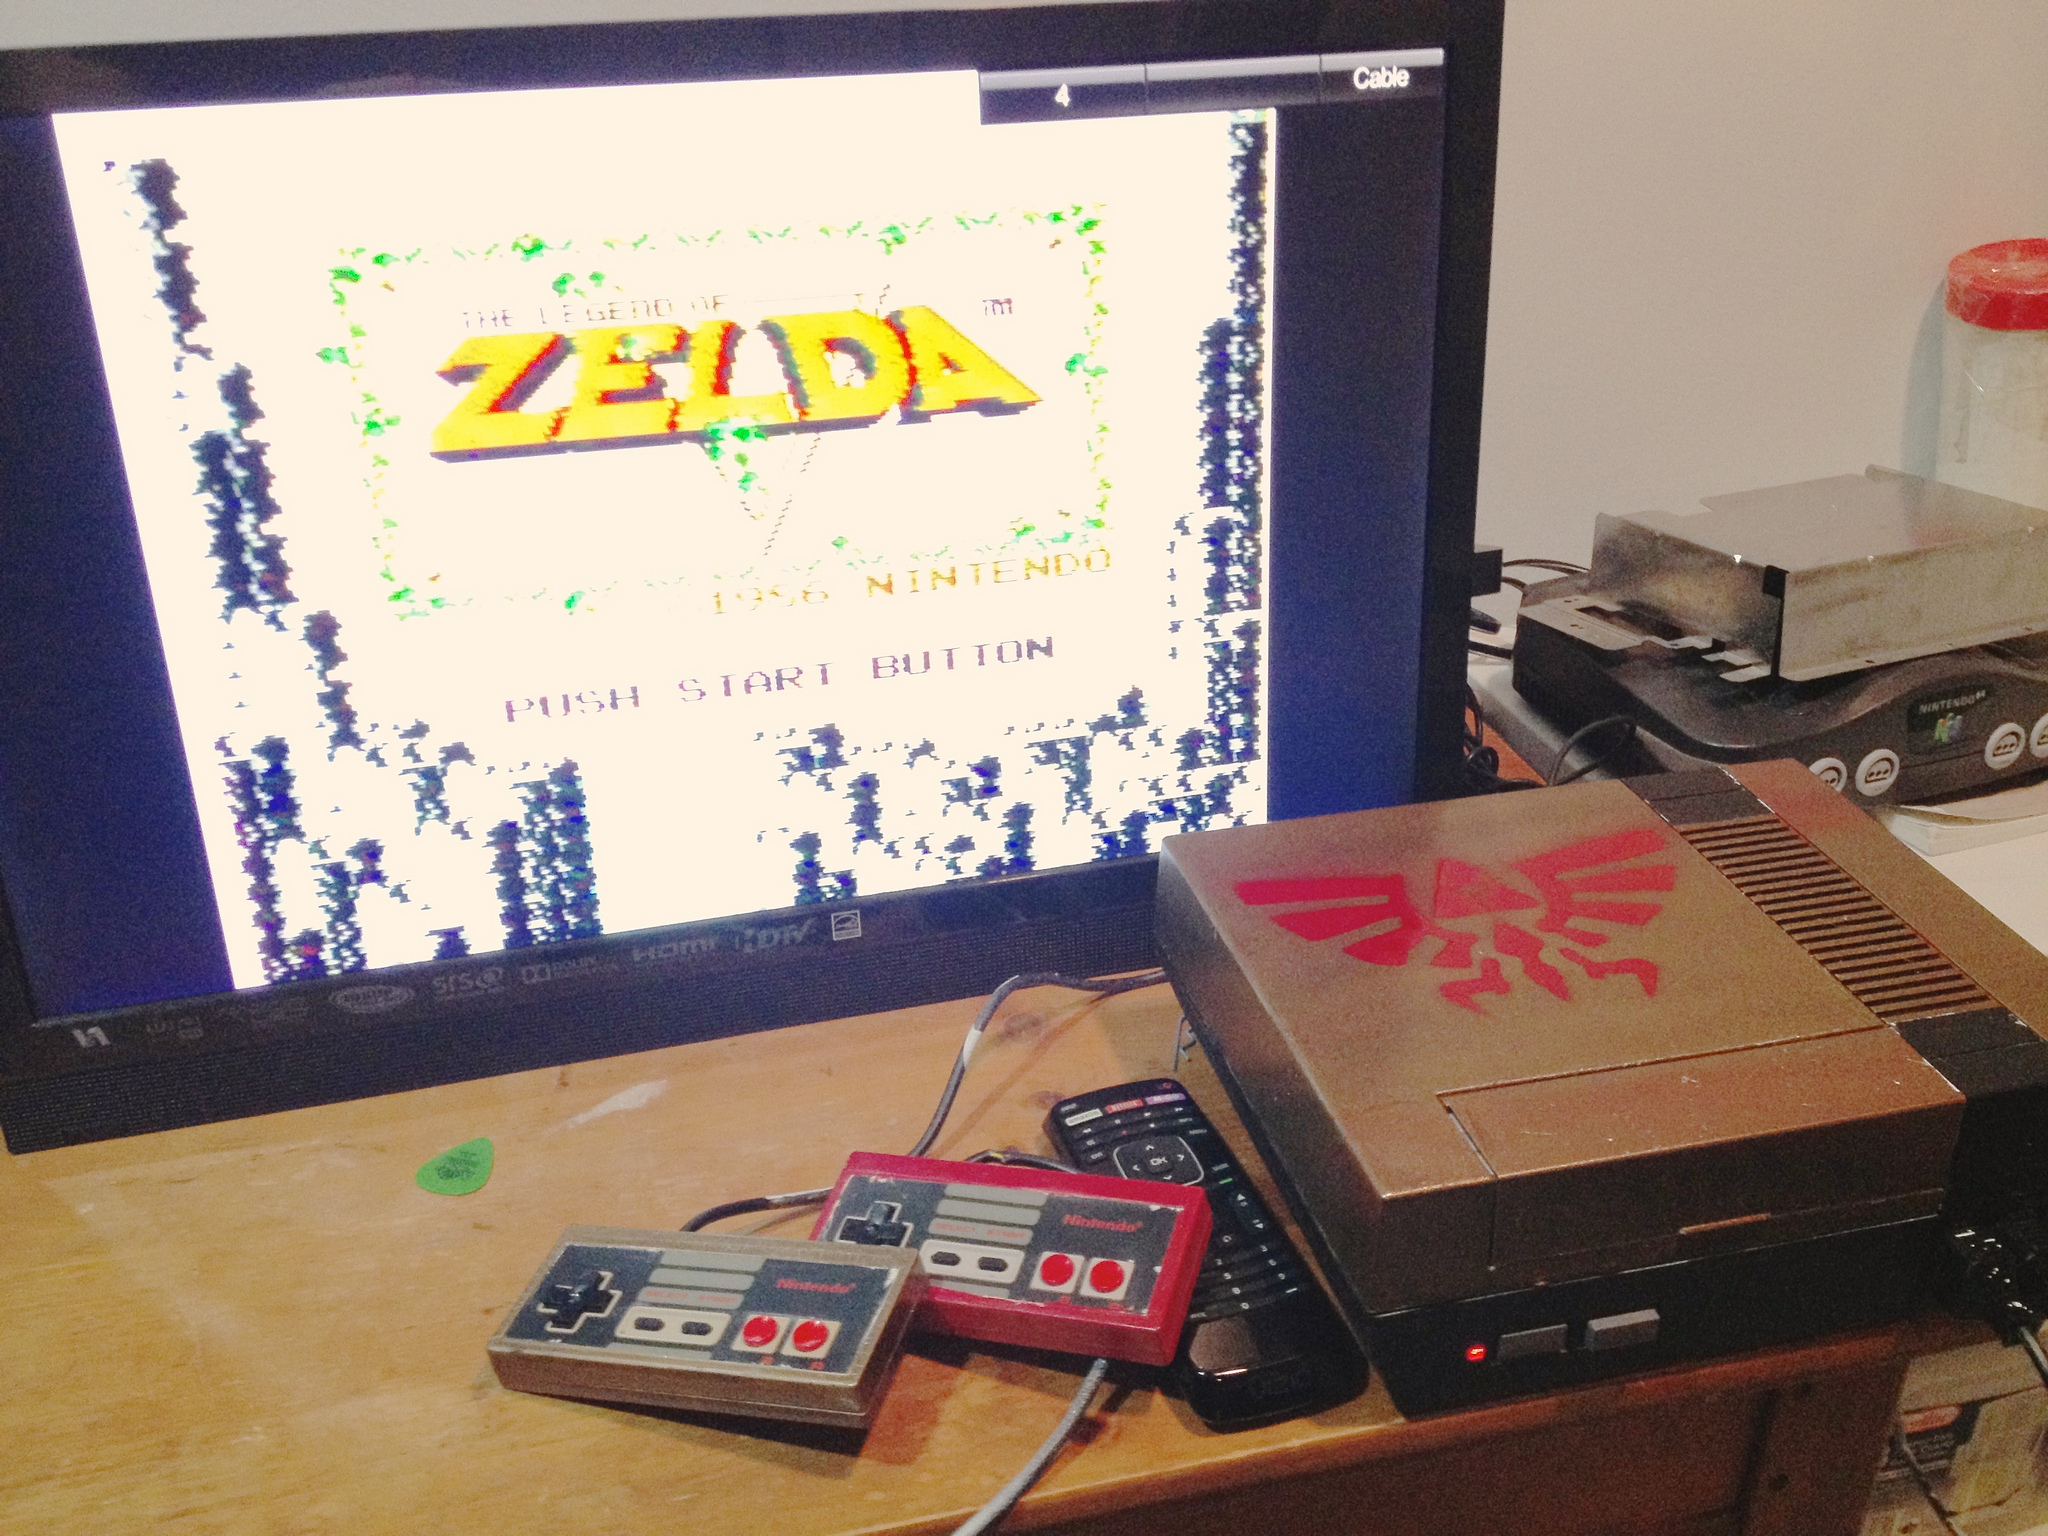
I decided it was time for an upgrade, and hydrographics was going to provide the means. One roll of patterned film from HYDRO-DIP, the company I sourced from, provided 18 sqft to work with. So, naturally, I got three rolls.
Hydrographics are used a lot for camouflage parts (Read: guns, things that go on guns), but I didn’t really want to lose my NES on the forest floor, so I went with a good variety of patterns[4]Though the blue one is “Splatter Camo”. Not sure what that’s supposed to hide one from..
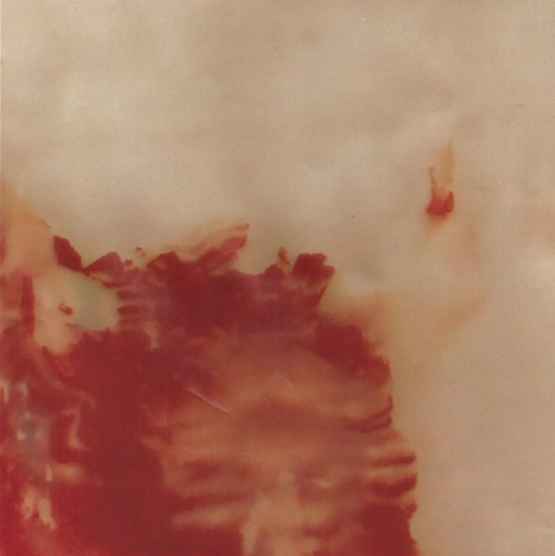
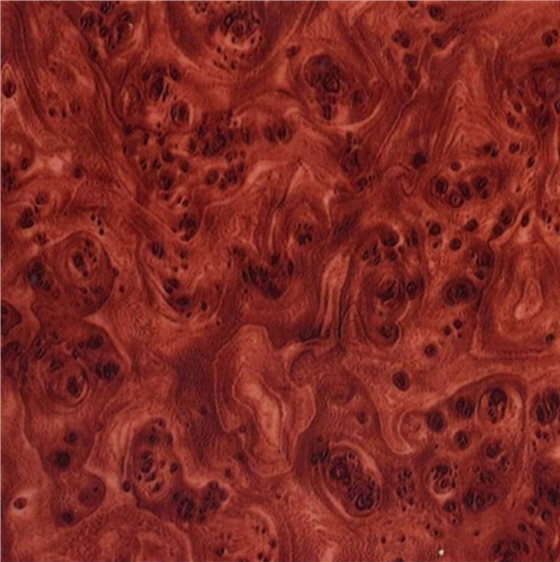
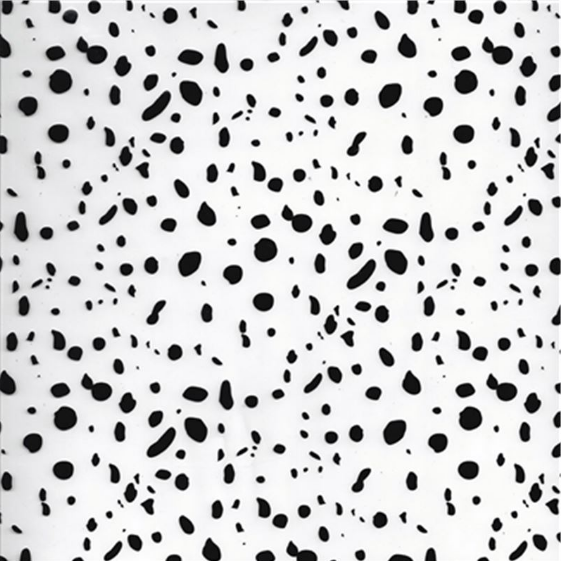
Marble was for my NES; Burlwood for the N64; Splatter for the Gamecube. I thought they all fit, in their own way. I had disassembled the NES before (as witnessed by my previous paint job), but I hadn’t tried to take apart the N64 or Gamecube prior to this. It proved harder than I anticipated; both the N64 and Gamecube have specially designed screws that you can’t unscrew without a Nintento bit. I thought I had one of these from when I cleaned the game cartrdges, but… a man can only track so many pieces of hardware, you know? Luckily for me, the controllers don’t suffer from this construction, so I decided to work on those instead.

After prepping the surfaces with plenty of spraypaint, all that was left was to dip! I outsourced a large bucket that would fit the submerged parts, filled that bucket with water, and went for my first hydrographics attempt with one of the N64 controllers. From that first test, I realized a couple of things:
- I was bad at dipping things into water.
- I was bad at cutting film.
- I was bad at cleaning parts.
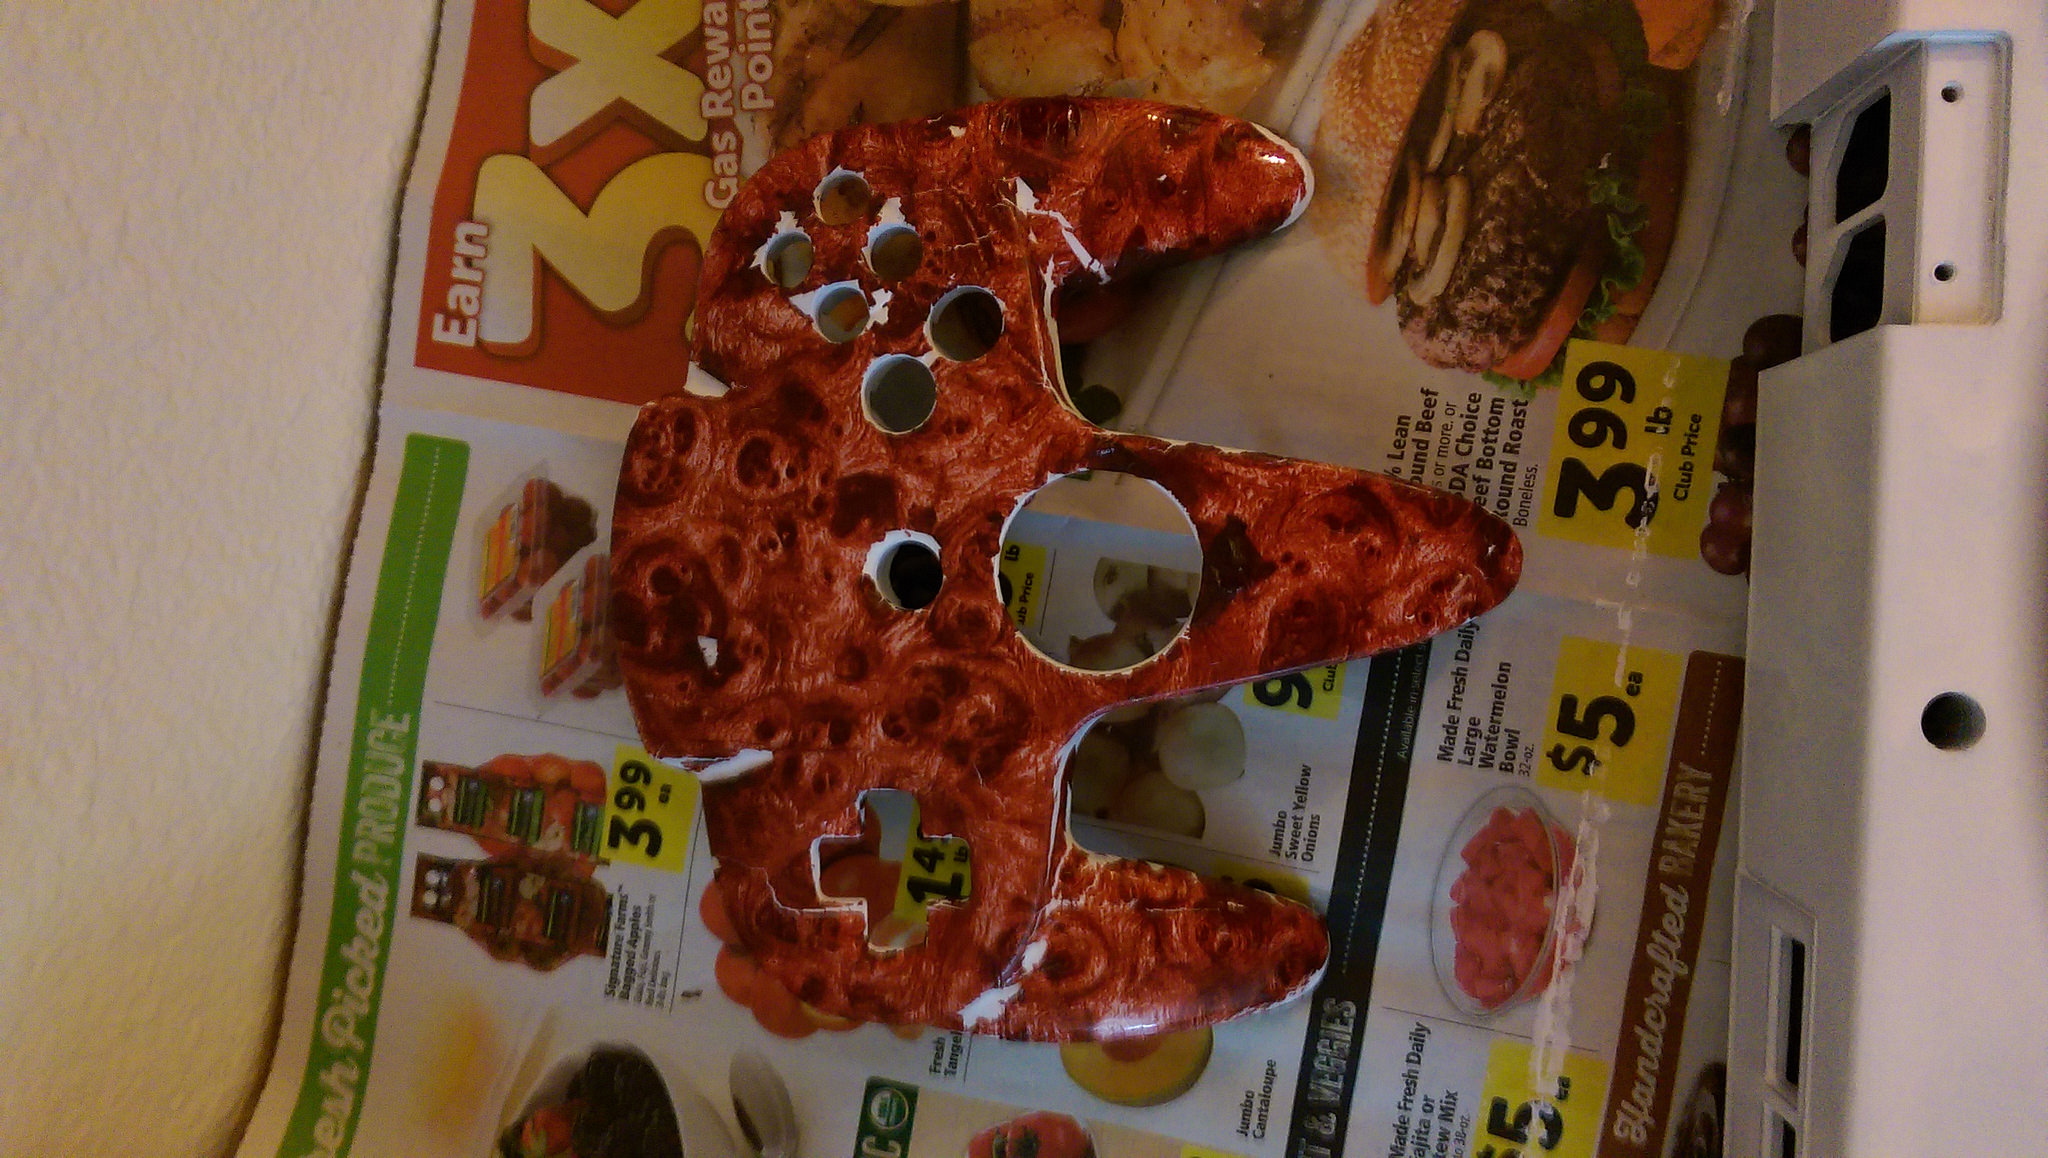
My first attempt is below, on what was once my yellow controller. The pattern looks pretty good where it applied, but there are wrinkles and tears where the film bent in on itself, or expanded too quickly, or was nudged by my hand as I worked it into the water.
It turns out, I made the right choice with getting as many rolls of film as I did. Two controllers + my repeated mistakes ate up the whole burlwood roll. My technique improved as I made my way to the NES, but even the console and two tiny controllers took a whole second roll of marble. I didn’t even get to touch the Splatter pattern, figuring I had enough work to do already.
So I dipped. And dried. And dipped. And cleaned. And dipped. And eventually, I got to something I was satisfied with. I spraypainted the finished pieces with gloss, and let everything settle. I have to say, I was impressed with the results.
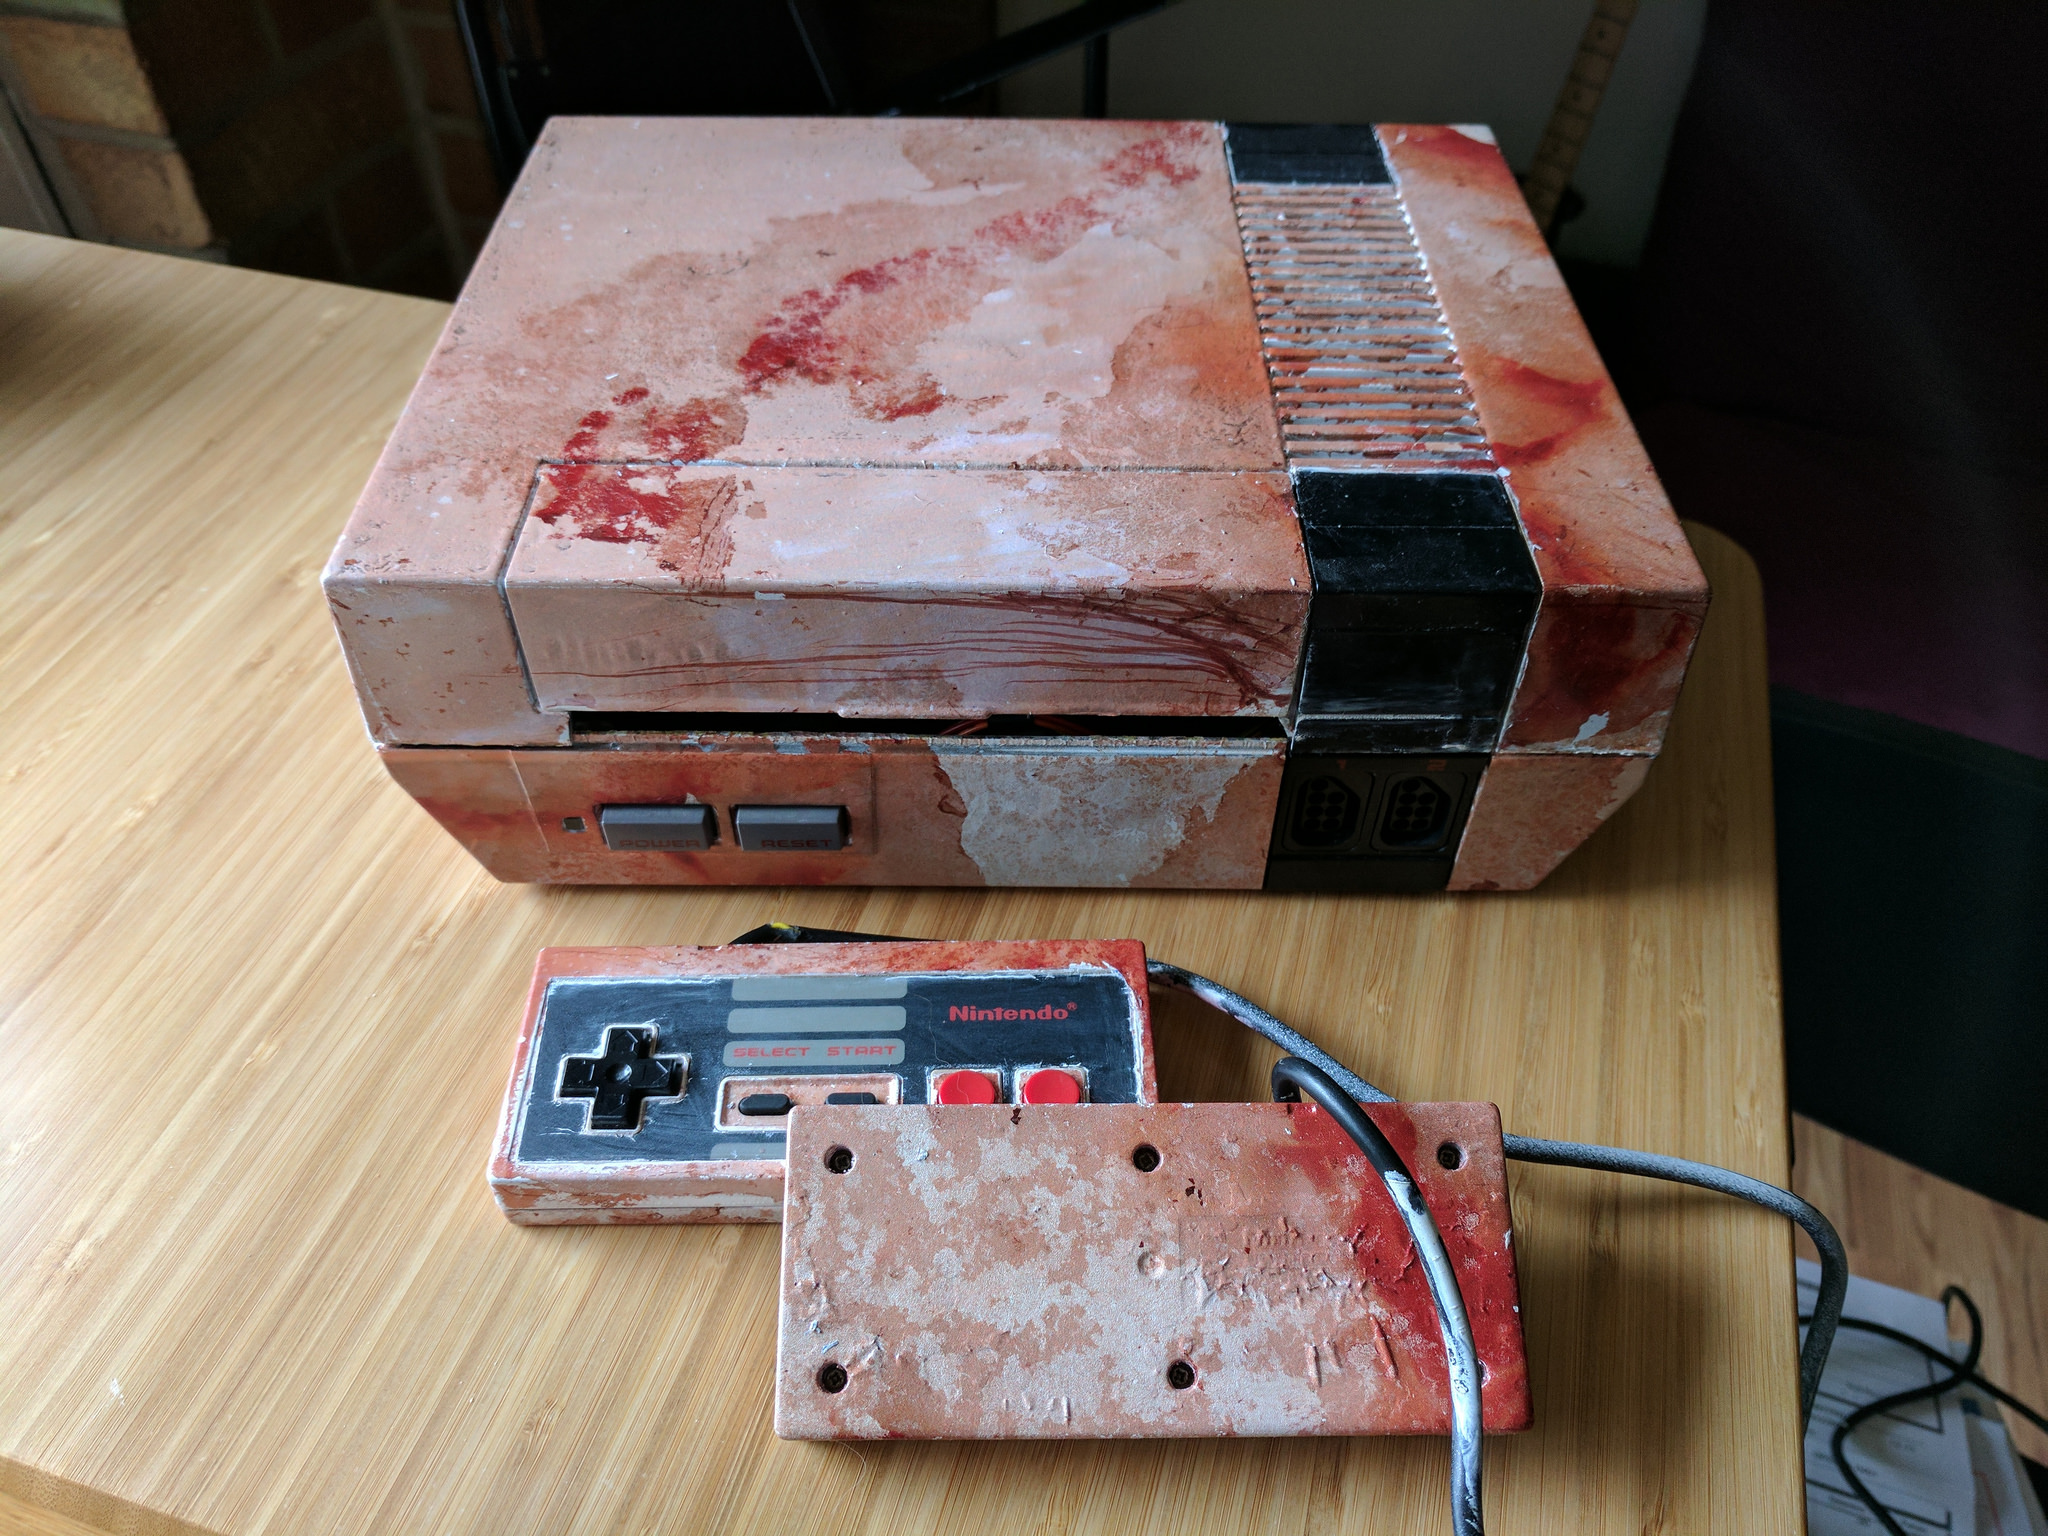
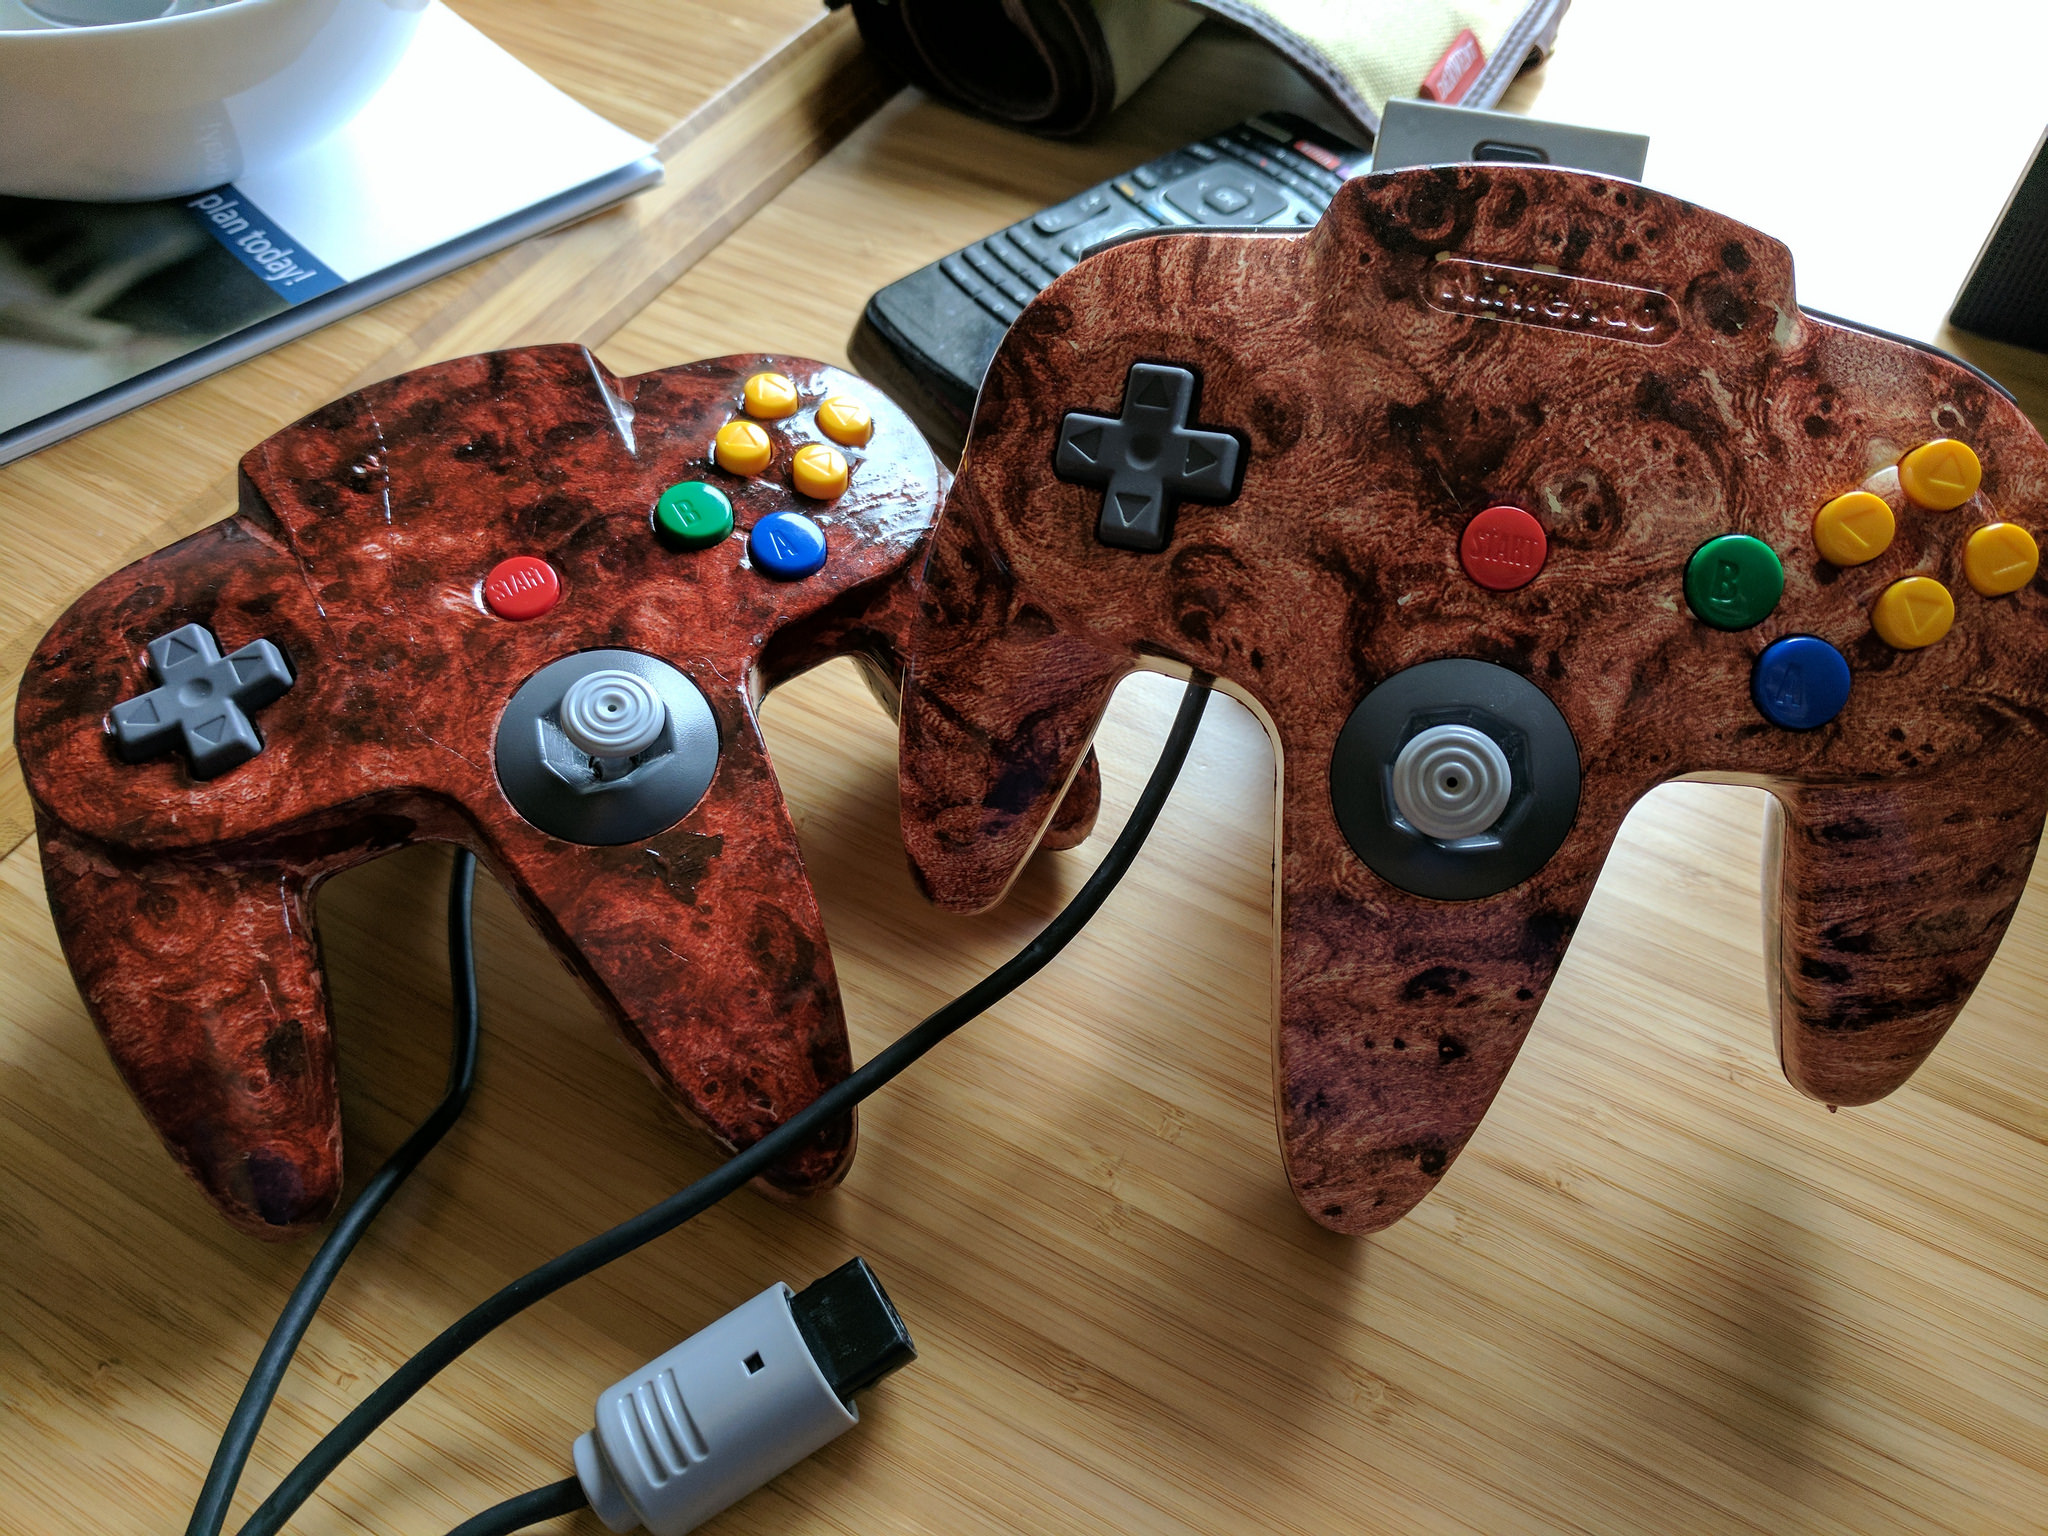
Moral of this story: hydrographics are cool, and they make things pretty. That is all.
If you’d like to see my progress as I went through this project, including tearing my controllers apart, check out the Flickr album I made here. Granted, I took most of those pictures just to remember where cords and screws went, but they’re still pretty cool to look at.